Your phone takes decent photos. Sometimes even good ones. But there’s this frustrating gap between what you see in the moment and what shows up on your screen. You know the photo could be better, but you’re not sure how to get there without spending hours learning Photoshop or paying someone else to fix it.
Here’s what I found after testing way too many photo apps: most of them suck. They’re either too basic or too complicated. The sweet spot, powerful enough to make a real difference but simple enough to actually use, barely existed.
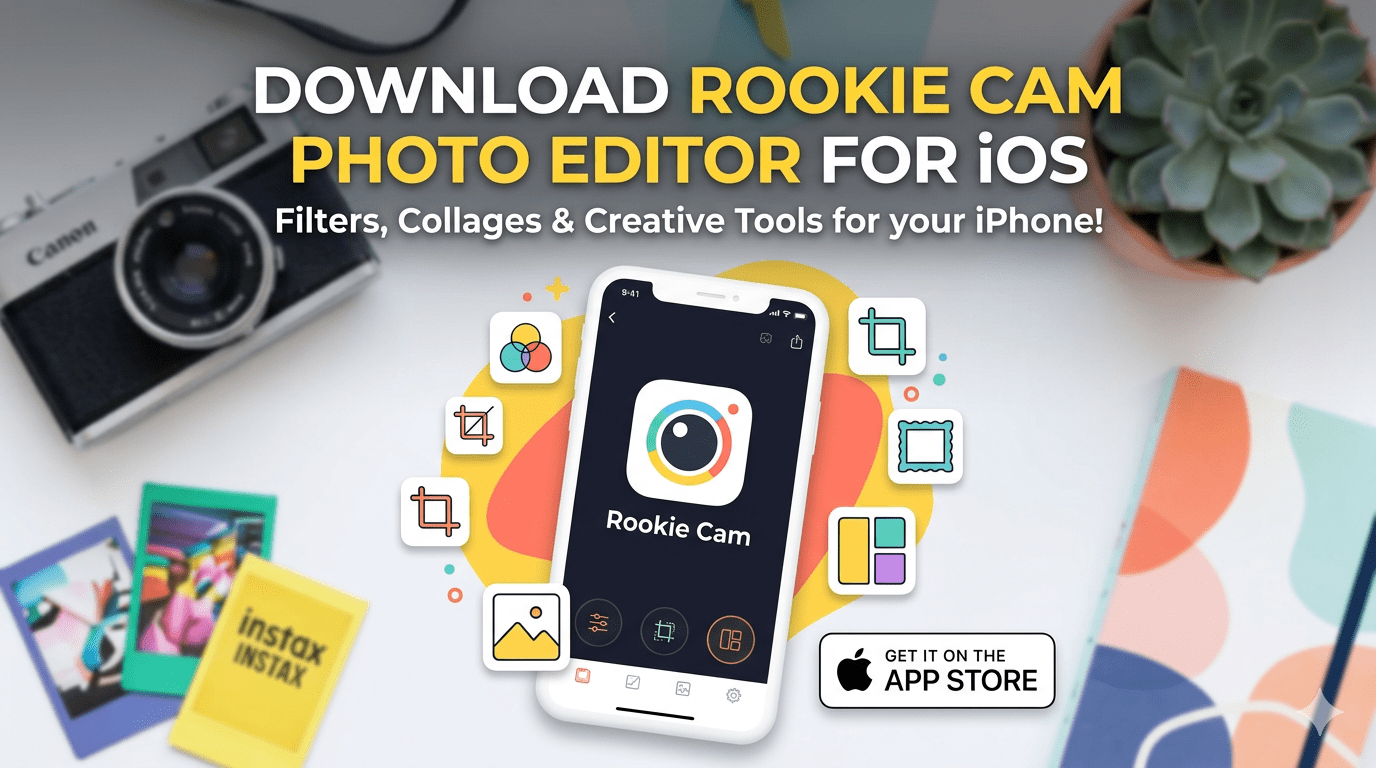
Until our team stumbled across Rookie Cam. And Guess what Download Rookie Cam Photo Editor From 3uTools Store for free.
This thing caught me off guard. I downloaded it expecting another overhyped filter app, but what we got was something that actually improved our photos without making them look fake. Let me break down why this might be exactly what you’ve been looking for.
Table of Contents
The Problem Nobody Talks About
Everyone’s obsessed with camera specs. Megapixels, aperture sizes, computational photography, as if the camera itself is what makes photos good. But walk into any professional photographer’s studio and ask them where they spend most of their time. It’s not behind the camera. It’s editing.
But the dirtiest spice behind this is that most “amazing” photos you see online were pretty average straight out of the camera. The magic happened afterward.
But here’s the catch: professional editing takes forever and costs a fortune. Hiring someone to edit your photos? You’re looking at $25-50 per image minimum. Learning to do it yourself? Plan on spending months just figuring out the basics.
That gap between “phone snapshot” and “actually looks good” is where most of us get stuck.
What Makes Rookie Cam Different?
First thing which you can notice, the interface doesn’t make you feel stupid. No overwhelming panels full of sliders you don’t understand. No technical jargon that requires a photography degree to decode.
Instead, you get 178 filters that are actually organized in a way that makes sense. Not just “Filter 1, Filter 2, Filter 3” like most apps. They’re grouped by the kind of mood or look you’re going for. Moody portraits, bright landscapes, vintage film looks—stuff that actually helps you find what you need.
But here’s where it gets interesting. These aren’t just Instagram-style overlays slapped on top of your photo. The app actually analyzes what’s in your image and adjusts the filter accordingly. A sunset gets treated differently than a close-up portrait, even with the same filter selected.
The result? Your photos look enhanced, not filtered.
The Features That Actually Matter
Dual-Exposure That Works
You know those shots where the background is either completely black or blown out white? Rookie Cam fixes that automatically. It takes multiple exposures and blends them together, so you get detail in both the shadows and the bright areas.
We tested this at a restaurant with terrible lighting—bright windows behind my friend, dark interior lighting on her face. Normal camera app: silhouette city. Rookie Cam: actually looked like a photo worth posting.
Textures and Light Effects (That Don’t Look Cheesy)
Most apps add light effects that scream “I used an app!” Rookie Cam’s are subtle enough that people assume you just got lucky with the lighting. The 60 different textures and light leak effects work with your existing photo instead of fighting against it.
Collage Layouts That Don’t Suck
Standard photo grids look lazy. Rookie Cam’s collage system creates layouts that actually tell a story. You can combine up to 9 shots in ways that feel intentional, not just “here’s a bunch of photos I couldn’t choose between.”
Perfect for travel posts, event recaps, or anytime you want to show multiple angles of something without flooding people’s feeds.
How To Use Rookie Cam On iPhone, iPad, iPod Touch Devices?
Once you’ve got Rookie Cam installed, using it is pretty straightforward. Tap the app icon and you’ll see a clean interface that doesn’t overwhelm you with buttons everywhere.
The first time you open it, the app will ask for camera and photo library permissions—just tap “Allow” so it can actually do its job. You might also get a notification request, which is useful if you want updates about new features.
The main interface has three tabs at the bottom:
Photo Mode: This is where you’ll spend most of your time. Take a new photo or pull one from your library, then start editing. You’ve got access to all those filters, plus basic adjustments like brightness, contrast, and saturation. The filters are organized by style, so you can quickly find something that matches what you’re going for.
Video Mode: Same concept, but for video clips. You can add effects, adjust color grading, and even throw in some motion graphics if you want to get fancy. The effects work in real-time, so you can see what you’re getting before you commit.
Album Mode: Browse through photos you’ve already edited or start working on multiple images for a collage. This is where the layout tools really shine—you can create those magazine-style arrangements that actually look intentional.
A few things worth knowing:
- The camera flip button (front/back) is at the top right, right where you’d expect it
- Most effects have intensity controls, so you’re not stuck with the default strength
- The undo button actually works properly (unlike some apps that lose your changes)
- Premium features are clearly marked, but there’s plenty to work with in the free version
The app remembers your preferences, so once you’ve dialed in settings you like, you don’t have to start from scratch every time.
How to Download and Install Rookie Cam Through 3uTools?
Getting Rookie Cam through 3uTools gives you access to the full feature set from day one. Here’s the process:
Step 1: Get 3uTools on your computer Download 3uTools from their official site and install it on your PC or Mac. This is a one-time setup—once you have it, you can use it to manage all your iOS apps.
Step 2: Connect your device Plug your iPhone, iPad, or iPod Touch into your computer with a USB cable. 3uTools will recognize it automatically and show your device info.
Step 3: Find and install Rookie Cam
- Click on “Apps” in the 3uTools interface
- Use the search bar to look for “Rookie Cam”
- Hit the blue “Install” button when you find it
- The app will download and install directly to your device
Step 4: Start using it Disconnect your device and look for the Rookie Cam icon on your home screen. That’s it—you’re ready to start editing.
Why use 3uTools instead of the App Store? Sometimes the App Store version has limited features initially, or you might not get access to all the filters right away. The 3uTools version typically comes with everything unlocked from the start, so you can test the full capabilities before deciding if you want to upgrade to premium.
Plus, 3uTools is handy for managing other iOS apps and tools, so it’s worth having around anyway.
Who Does This Actually Help?
Content Creators:
Your posts will stand out more. Not in a “look how fake this is” way, but in a “this person knows what they’re doing” way. The kind of subtle improvement that gets you more engagement without looking try-hard.
Small Business Owners:
Product photos that don’t look like they were taken with a flip phone. Food that looks appetizing. Spaces that look inviting. All from your regular phone camera.
Everyone Else:
Your vacation photos won’t be boring. Your family pictures will actually look like the moments you remember. Your everyday shots will have that “professional photographer friend” quality.
The Learning Curve
Our media team tried a lot of photo editing apps. Most require you to watch YouTube tutorials just to figure out the basics. Rookie Cam works the opposite way—you can get good results immediately, then gradually discover more advanced features as you use it.
The free version gives you plenty to work with. Professional-level editing tools, a solid selection of filters, and all the basic adjustments you need. The premium upgrade adds more filters, removes watermarks, and unlocks some advanced features, but you’re not crippled without it.
How It Stacks Up?
We compared Rookie Cam against the usual suspects:
VSCO: Great filters, but limited free options and the interface feels clunky Lightroom Mobile: Powerful but overwhelming. Also $10/month. Snapseed: Free and capable, but hasn’t been updated in forever Instagram: Basic filters that everyone recognizes
Rookie Cam hits the sweet spot. More powerful than basic apps, less complicated than professional software, and priced reasonably.
Conclusion
Rookie Cam won’t turn you into Annie Leibovitz overnight. But it will close the gap between the photos you take and the photos you wish you could take. For most people, that’s exactly what they need.
The app does what good editing should do: makes your photos look like better versions of what you actually captured, not like completely different images.
If you’re tired of photos that look “fine” when you want them to look “good,” this is worth trying. Especially since the free version gives you enough to decide if it’s worth keeping around.
Frequently Asked Question
Is this just another filter app?
Nope. The filters are there, but the real value is in the editing tools and the way everything works together. You’re not just slapping effects on photos—you’re actually improving them.
How’s it different from just using Instagram filters?
Instagram filters are one-size-fits-all overlays. Rookie Cam analyzes your specific photo and adjusts accordingly. Plus you get way more control over the final result.
Can I use this for business stuff?
Yeah, the premium version removes watermarks and includes commercial use rights. Way cheaper than hiring a photographer or learning Photoshop.
Is it hard to learn?
Not really. If you can use Instagram, you can use Rookie Cam. The interface is pretty intuitive, and you can get good results right away.
What if I don’t like it?
Then delete it. The free version costs nothing but download time, so there’s no real risk in trying it out.